Tips To Perform Seat Belt Installation Like a Pro
Proper installation of seat belts is important for safety, but it can be hard to do. Seat belt installation is a pain point that many people face. It’s not always easy to find the right instructions and you might end up installing them incorrectly. Our seat belt replacement experts have compiled 7 essential tips for proper seat belt installation, from gathering your materials and tools first to getting professional help when needed. These tips will make sure you’re safe on the road.
1. Get hold of your materials and tools
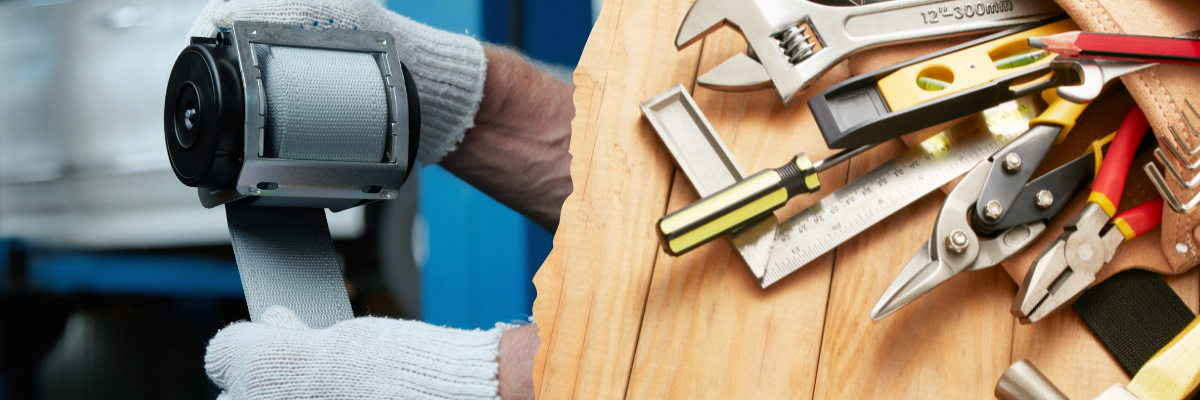
Before you even get started with the seat belt installation process, you need to get hold of the right materials and tools. Seat belts are a safety device, so you should only use high-quality parts from an auto supplier. If you’re looking to get the old seat belt replaced with a new one, look for a trusted supplier that has experience offering customised seat belt replacement solutions. Your vehicle’s make and model will determine what type of seat belt you need for replacement. Make sure you have all the necessary supplies, including newly assembled seat belts.
Once you have got the new seat belts from a supplier, you need to gather the tools you will need for installation. You can get a tool kit from an auto shop or speciality store, or you could borrow one from your mechanic if you have one nearby who services cars. If your vehicle has a trim that needs to be taken apart in order to access the seat belt, gather a screwdriver and possibly a pair of pliers. Make sure to get a torque wrench to tighten belt connections and keep a torchlight at the ready to access any areas close to the floor. Keep these tools close by when you make any modifications or installations.
2. Installing the front door seats
In most cases, if you’re dealing with modern vehicles you’re looking at installing three-point seat belts for front seats. First up, you need to remove and replace the buckle and shoulder belt attachment points. You need to also remove the attachment points found on the opposite side of the front seat. Once you have done this, you simply remove the trim panel to locate the attachment points. Next up, loosen up and remove the clips attached to the trim panel. Simply make sure that you’re using appropriate tools to loosen up the parts without having to exert too much pressure. Now you’re all set to install the new seat belt.
It’s crucial that you use appropriate tools with the right specification to tighten up the bolts.
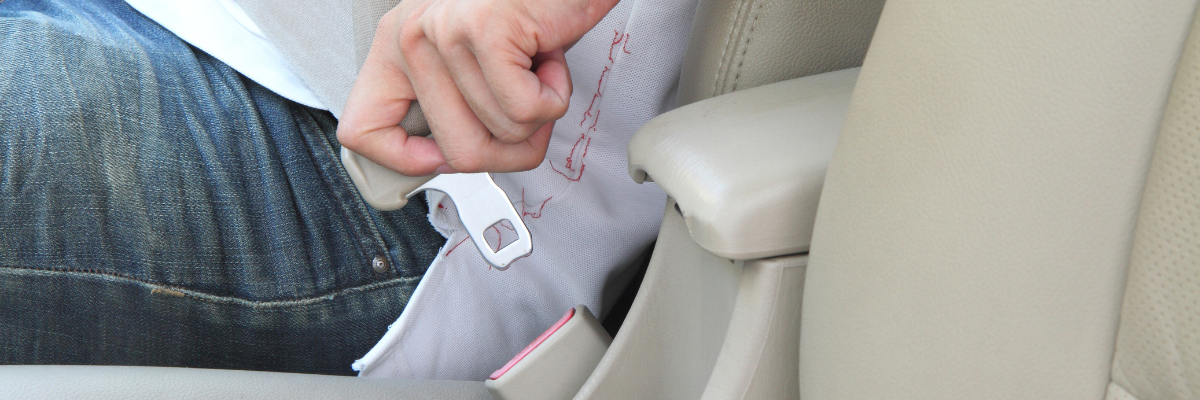
3. Installing the rear seat belt
Installing the rear seat belts is not too difficult. You start out by removing the current seat belt, which should be similar to removing the seat belt in the front area. The only difference is that while removing the rear seat belt, the shoulder belt attachment can be located in the headliner of the passenger area. Handle this part with care and use the right tools, otherwise, you could end up doing some damage to the headliner. If unsure, make sure to go through your vehicle’s specific user manual. Look underneath the rear seat to find the seat belt attachment. Based on vehicle specifications, now you need to lift the seat out of your vehicle so you can access the seat belt and replace it.
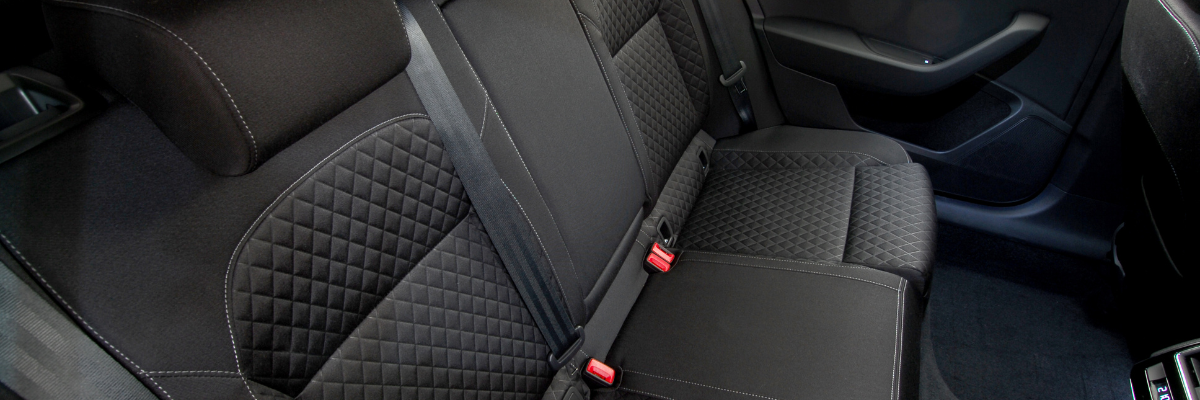
4. When to consider installing a new seat belt
You’ll certainly need to consider getting a replacement for your seat belt if they deteriorate and lose their effectiveness over time. They can tear or loosen, and the plastic parts may start cracking. The webbing and metal parts become worn. Your seat belts might look fully functional on the surface, but with a closer look, you can see that it’s time to replace them. Also, if you continue using the old seat belt and there is a significant risk of it failing, you should be concerned. As mentioned earlier, if your seat belts aren’t installed properly or don’t fit properly at all due to wear and tear, it’s also time for a replacement.
5. Get help from a professional
Sometimes, a DIY seat belt installation might not work out as you’d intended or expected. If this is the case, it’s better to get professional help instead of wasting your time and money trying to fix up a seat belt that isn’t working properly. Don’t feel down if you’re unable to follow the instructions in your vehicle’s manual or your vehicle’s manufacturer’s website. That’s what professional mechanics are for. They can help you find the right seat belt for your car, figure out how to install it, and ensure that it is safe for you to drive with before you’re back on the road.
If you have any doubts about how to install a seat belt properly, or if you want to receive professional help from an expert so that your vehicle is fully compliant with the safety standards, consider calling some professional installers. You can go online and look up “seat belt installation” or similar terms to find a professional installer.
Check whether the company offers services for your car make and model, as well as what kind of warranty is provided with the installation. Of course, the installation process may cost you some money, but having a secure and compliant vehicle will definitely be worth it in the long run.
A seat belt is a safety device designed to keep passengers safe in the event of an accident. It’s important that you install your new or old seat belts correctly, and this guide can help you do just that. From gathering materials and tools first to installing rear seats with care, we’re here to provide all the information you need for a successful installation. If professional assistance sounds like what you need next on your journey towards a safer car experience, reach out to one of our experts today!